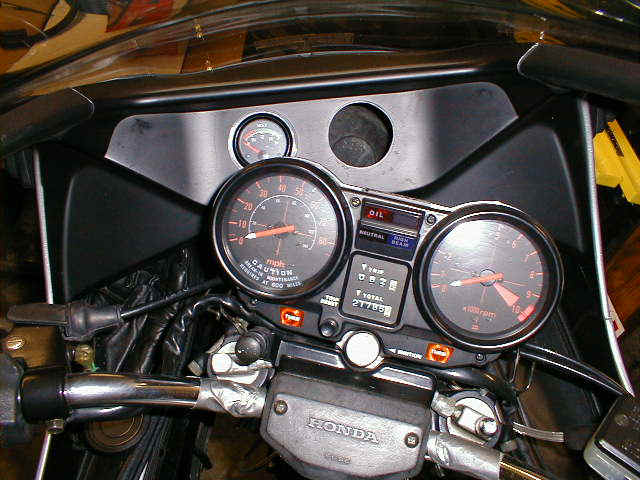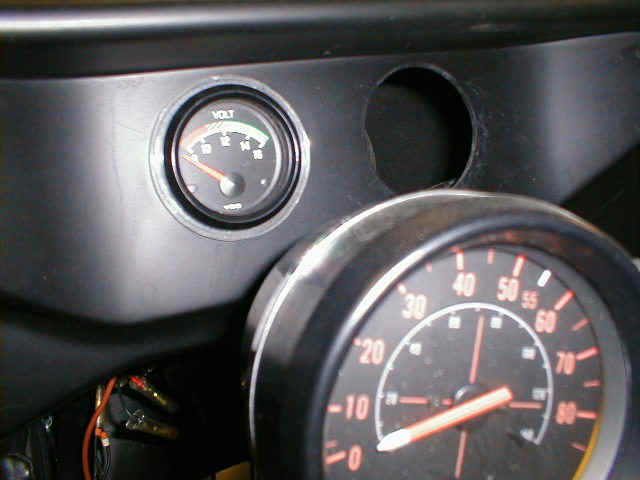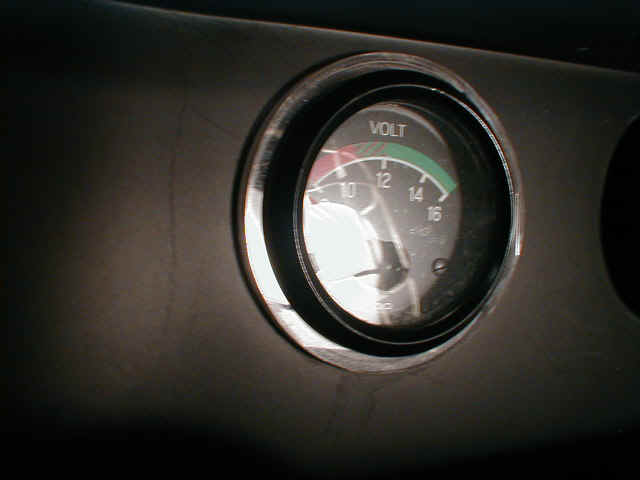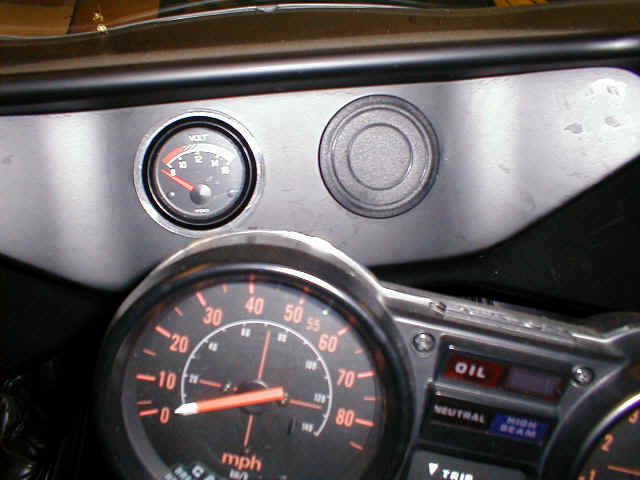
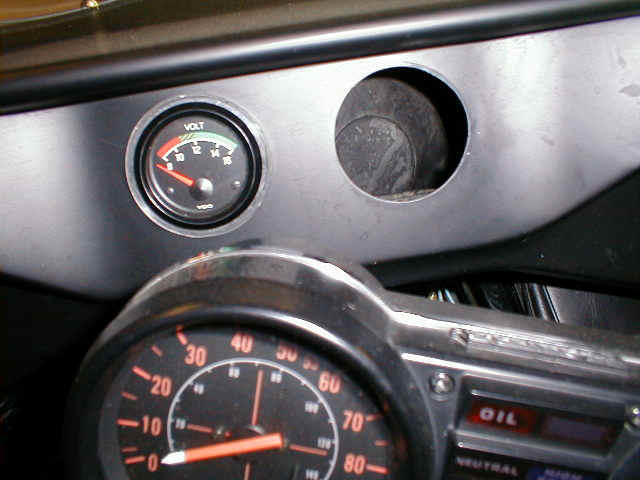
These are VDO "Cockpit" gauges. The Volt gauge has been installed and has worked fine for about 500 miles. I believe there will be no problems with vibration or weather. I have a quartz clock but haven't put it in yet. As you can see the stock hole is too big for the gauge so I cut rings and spacers from 1/8" plexiglass. One ring goes on top and one ring goes on the bottom with three little spacers in between to keep the gauge centered. I used a compass to draw the circles, a drill to remove most of the material and a Dremel tool to smooth off the edges. Yes, it took alittle time, but with a couple glasses of wine and the radio on in the garage it was NBD.
The Honda fairing has all the wiring you will need already installed with 1/4" spade connectors. This includes GROUND, 12V continuous hot, 12V switched, and Light.
If you use the Honda wires you will NOT read TRUE battery voltage but rather a little less due to resistance in the wiring harness and ignition switch. On my bike it runs about 1V less than true battery charge voltage. All bikes will show some voltage drop (Ohm's Law). This is the same cause of overcharging the battery if the ignition switch or wiring has excessive resistance (corrosion).